Have you ever wondered how to use the tare function on a balance correctly? In chemistry, getting accurate measurements is vital, whether you are learning in a classroom or working on complex experiments. Precise weighing is crucial for success.
That’s why understanding how to use a balance properly is so important. A key feature of any balance is the tare function. Perhaps you have come across such statements as ‘When using the tare function on a balance, start by placing the glassware…”
In this article, we will guide you through the simple yet essential steps of using the tare function effectively, starting with placing your glassware on the balance. As you read on, we will explain everything you need to know to master this technique and ensure your measurements are spot on.
Table of Contents
Understanding What the Tare Function Is
Before we go into the nitty-gritty of how to use the tare function, let’s first consider what the tare function is in the first place.
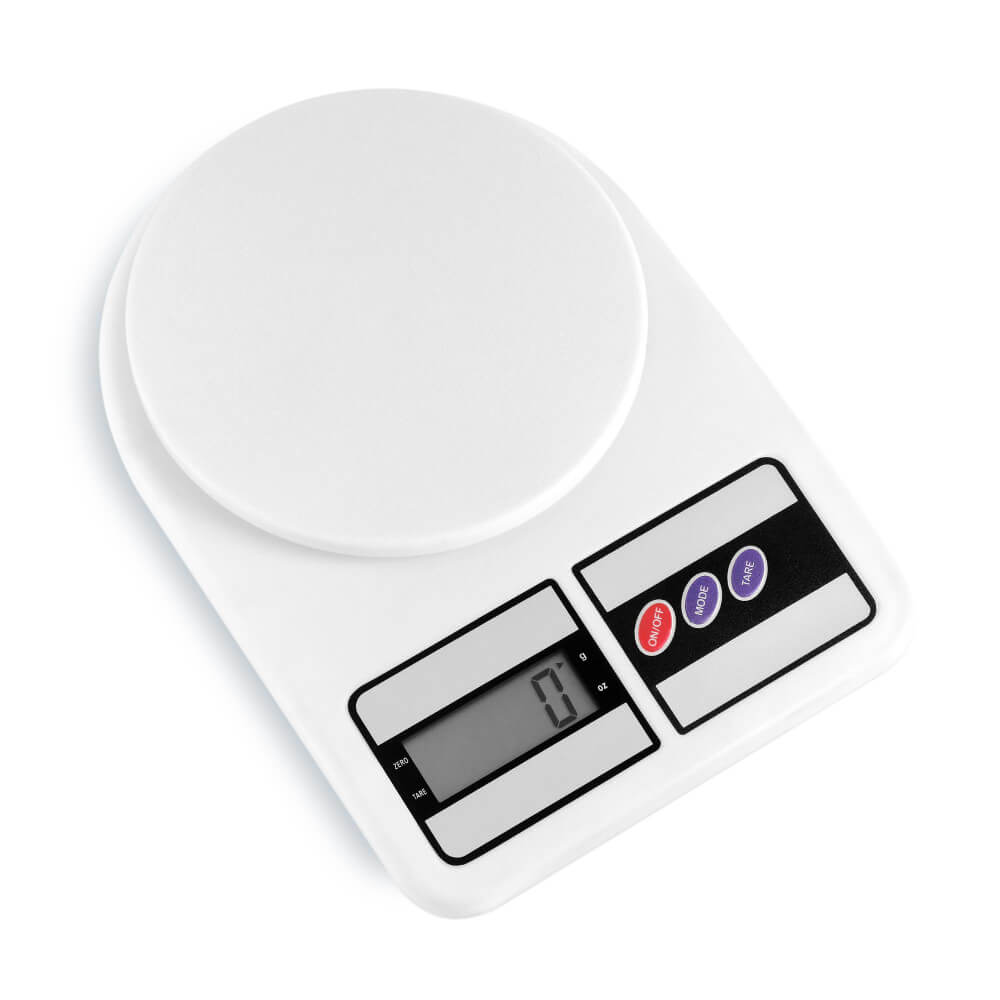
The tare function on a balance is a crucial feature for achieving accurate measurements. The term “tare” is all about subtracting the weight of the container or any existing material on the scale from your measurement.
Let’s take an example. Suppose you are pouring sugar into a bowl placed on a scale. If you don’t use the tare function, the scale will display the total weight of both the sugar and the bowl. However, by pressing the tare button, the scale zeroes out, ignoring the bowl’s weight.
That way, the scale will only show the weight of the sugar. Using the tare function is a straightforward but vital method to ensure that you measure only the material you need without the added weight of the container. It’s all about focusing on what you really want to weigh.
When Using the Tare Function on a Balance, Start By Placing the Glassware – The Complete Steps

You might have come across incomplete guides on the internet about using the tare function on a balance, often leaving you hanging with phrases like, ‘When using the tare function on a balance, start by…’ But actually, using the tare function is quite straightforward. Let’s go through it step-by-step.
Step 1: Position the Glassware on the balance
When using the tare function on a balance, start by placing the glassware on the balance. This could be your beaker, flask, or any other type of container. This will give you the initial weight, which includes both the glassware and anything that might already be inside it.
Step 2: Press the Tare/Zero Button
The next step is crucial, and that is pressing the tare or zero button on your balance. This action zeroes the balance, effectively disregarding the weight of the glassware. What you are doing is setting a new starting point so that from here on, only the weight of your added sample is measured.
Step 3: Add Your Sample
Now, it’s time to add the sample you need to measure into the glassware. This could be a liquid, powder, or any other substance you are working with. The balance will now show the weight of this sample alone, not counting the glassware’s weight.
With these simple steps, you can use the tare function effectively, ensuring precise measurements every time.
However, don’t forget, when using the tare function on a balance, start by placing the glassware on the balance. Then, tare the balance by pressing the zero button, and then add your sample for the most accurate measurement.
You may also like:
- What Is Not an Advantage of Sampling?
- Is Bath and Body Works Going Out of Business?
- Jumbo Pasta Shells Shortage 2023
Why Taring a Balance is Important?
Taring a balance is a fundamental step in ensuring accurate measurements, especially in fields where precision is paramount, like chemistry, biology, or pharmacology. But why is it so crucial?
#1: Accuracy in Measurements
The primary reason for taring a balance is to ensure the accuracy of your measurements. By zeroing out the weight of the container, you get the exact weight of the material you’re adding. This precision is crucial in experiments where even a small deviation can lead to significantly different results.
#2: Eliminates the Need for Calculations
Without using the tare function, you would need to manually subtract the weight of the container from the total weight to get the weight of your sample. This process is not only time-consuming but also prone to errors. Taring does this automatically, eliminating potential calculation mistakes.
#3: Consistency in Results
Consistency is key in scientific experiments. Taring ensures that your measurements are consistent and reliable, which is vital for replicating experiments and comparing results over time.
#4: Versatility in Using Different Containers
The tare function allows you to use containers of different weights and sizes without affecting the accuracy of your measurements. Whether you use a light plastic container or a heavy glass beaker, the tare function adjusts the balance to only measure what you add next.
#5: Saves Time
Taring a balance speeds up the measurement process. Instead of doing additional calculations, you can focus more on the experimental process itself.
What Should You Do If You Are Using a Balance That Has Persistent Fluctuations?
If you encounter persistent fluctuations while using a balance, it’s important to address this issue promptly, as it can significantly affect the accuracy of your measurements.
Firstly, check for environmental factors that might be causing instability, such as drafts, vibrations, or temperature fluctuations. Ensure the balance is placed on a stable, level surface and in an area with minimal air currents.
Next, verify that the balance is properly calibrated. If it’s been a while since the last calibration, it may be due for a recalibration. Also, clean the balance thoroughly, as dust and residue can sometimes cause inconsistencies.
If these steps don’t resolve the issue, try using a different balance to confirm if the problem is specific to the instrument. If the fluctuations persist, it might indicate a mechanical or electronic problem within the balance itself. In such cases, consult the manufacturer’s guidelines or contact a professional technician for repair or replacement.
What Are Four Things to Avoid When Using a Balance?
When using a balance, there are several important practices to avoid to ensure accurate and reliable measurements. Let’s talk about the four most common of them.
- Avoid Windy or Drafty Areas
Placing a balance in windy or drafty areas can lead to inaccurate readings. Air currents can affect the stability and accuracy of the balance. So, it’s essential to use the balance in a stable environment, ideally in a room with controlled air flow.
- Avoid Weighing Solids Directly on the Pan
Directly placing solids on the balance pan can lead to contamination and inaccurate readings. Instead, use weighing paper, a container, or a tare vessel. This practice not only keeps the balance clean but also ensures that you can accurately tare the balance and measure only the substance of interest.
- Avoid Weighing Hot or Cold Objects
Weighing objects that are significantly hot or cold can lead to erroneous readings due to air buoyancy effects and convection currents. These temperature differences can cause air movements that interfere with the balance’s ability to accurately measure weight. It’s best to allow such items to reach room temperature before weighing.
- Avoid Opening the Balance During Measurement
If your balance has a protective cover or door, avoid opening it during the weighing process. Opening the balance can introduce air currents and external disturbances, leading to fluctuations in the readings. Keeping the balance closed ensures a stable environment for accurate measurements.
When Using the Tare Function on a Balance, Start By – Final Note
There you have it: the proper way to use a balance to get the most accurate readings. If you have read to this point, we believe you now have a complete understanding of what tare function is and why it’s important when taking measurements with a weighing balance.
You also now know how to use the tare function on a balance. Remember, when using the tare function on a balance, start by placing the glassware on the balance and then taring the balance before finally including the sample you want to weigh.
If you still have questions or concerns concerning this subject, you can let us know in the comment section below. We would be glad to help!


